How to Do Foil Nails at Home


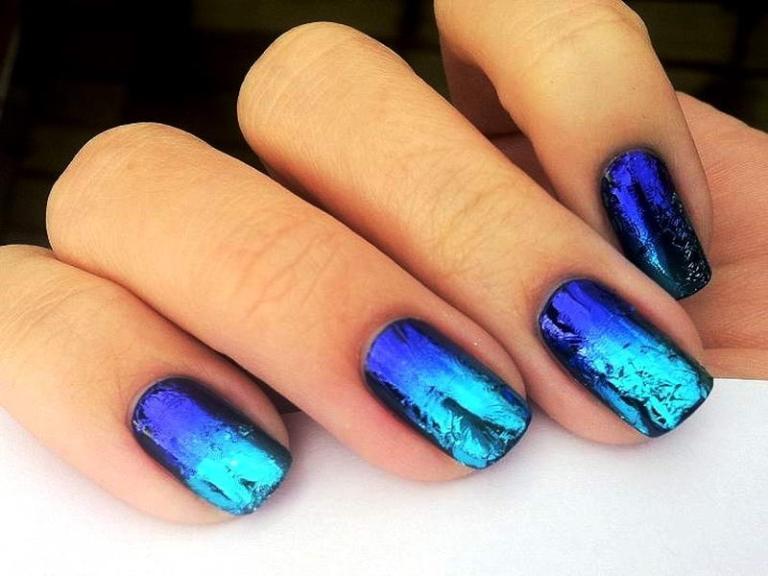
There are endless possibilities when it comes to decorating your nails, and using foil is one of the latest trends. Using foil on your nails might seem a bit odd, but it is one of the easiest nail art techniques, and with time you can perfect the way you apply it. With some simple steps you can achieve quick and funky nail art. Surprise everyone with your colourful nails after you learn how to do foil nails at home.
You'll need:
- Nail Polish (similar to the color of the foil)
- Nail foil
- Nail glue
- Cotton bud
- Tweezer
- Transparent nail polish for top coat or nail art sealant
- Nail polish remover
Steps to follow:
First of all, you need to clean your nails. Soak a cotton bud in nail polish remover and wipe it over your nails to remove your old nail polish. Make sure your nails are fully dry before you start, as leftover remover or moisture can interfere with the glue. To do this tutorial you'll need:
- Nail polish (similar to the colour of the foil)
- Nail foil
- Nail glue
- Cotton bud
- Tweezers
- Transparent nail polish for top coat
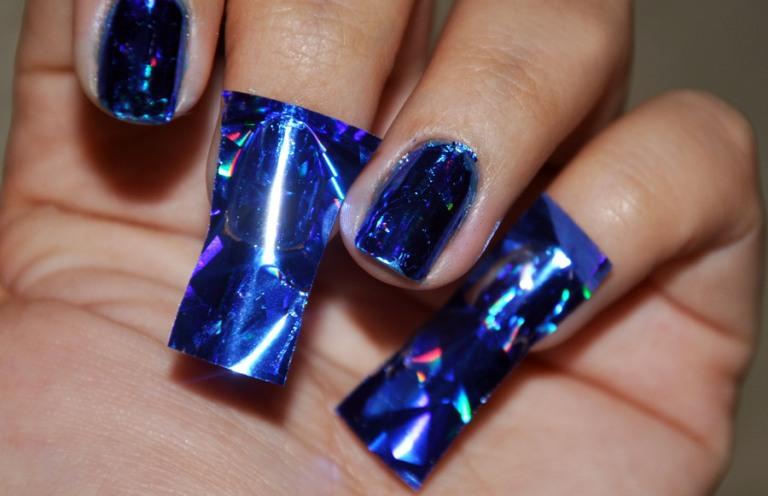
Take the foil and cut it into pieces such that each piece is about 1.5 times longer and wider than your nail. The extra margin gives you room to hold the foil and helps you cover the nail without stretching or tearing the piece.
Then take the nail polish of your choice and apply it over your nail as a base coat. Let it dry completely.
Some people like to apply nail foil directly over their nails without the base coat. So, it’s completely your choice whether to follow or skip this step.
Now, using the brush, apply nail glue over the whole nail. Take care that the nail glue covers your whole nail. The layer of nail glue should neither be very thick nor very thin. Wait for a few minutes (approximately 5 minutes or more) so that the glue dries. When the nail glue turns completely transparent, this means it has dried. Avoid touching the glue while it dries, as fingerprints can affect how evenly the foil sticks.
If you are using a self adhesive foil then you can skip this step.
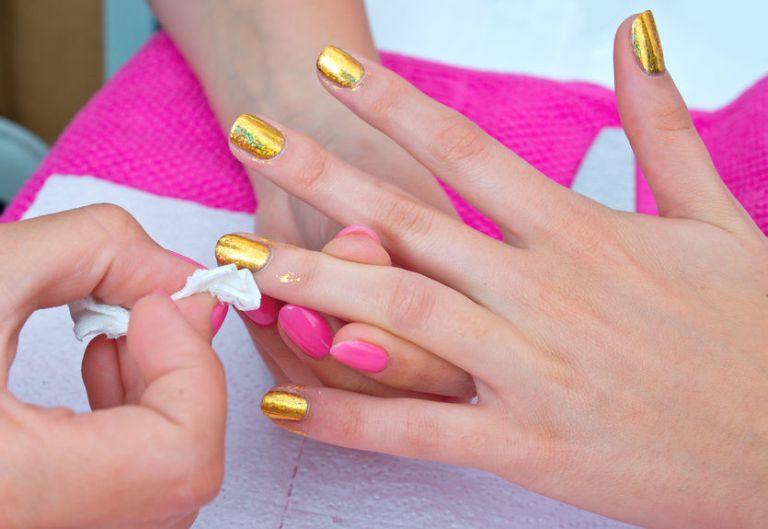
Now with the help of tweezers carefully pick up a piece of nail foil that you have prepared in step 1 and place it on the nail. Using a cotton swab, press it gently over the entire nail. Press it from all corners and edges so that the whole nail is covered. Smooth the foil over the whole nail so that no wrinkles appear when you take off the foil. Work gently around the cuticles and avoid dragging the foil across the nail, as this can disturb the glue.
You can also use your finger to press the foil instead of the cotton swab.

Now hold the edge of the foil with a tweezer and slowly pull it off the nail. You should not pull off the foil too fast; otherwise, it may rip the pattern stuck on your nail along with it.

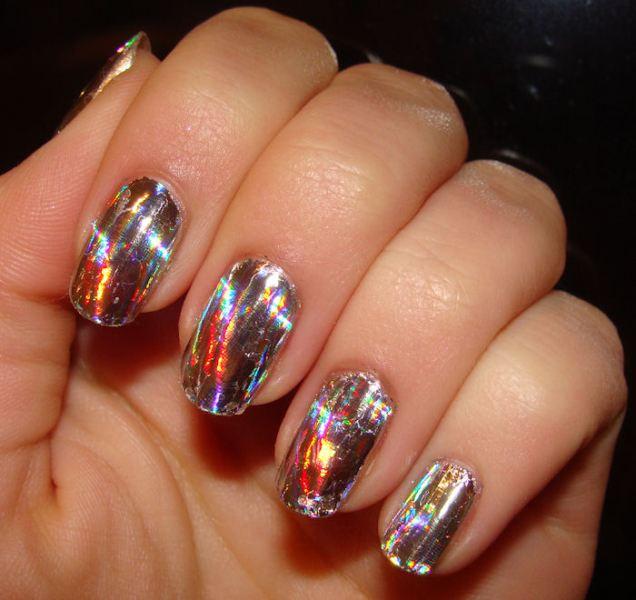
Finally, finish it off with a top coat of transparent nail polish or nail art sealant. Choose your top coat with care, as some top coats tend to shrink the foil. Apply it in a smooth, light layer and seal the free edge to help protect the design. Let it dry for about 15 minutes, until it is completely dry.
It is advised to wait for another 25 minutes before using your hands for any other activity.
If you don’t like to cover your whole nail with nail foil then you can cut out small patterns like triangles, stars and others and stick them on your nails in the same way.

If you want to paint your nails in other original ways check out this other OneHowTo tutorial and learn some easy nail art tutorials.
If you want to read similar articles to How to Do Foil Nails at Home, we recommend you visit our Beauty & Personal Care category.