How to Apply Mehndi for Beginners

Mehndi is a red colored body art design which is obtained when it is applied on skin. Mehndi (also known as henna) is a flowering plant whose leaves are made into a paste and then applied on various body parts like hands, feet, arms etc to achieve beautiful design. Mehndi is one of the most important rituals of an Indian bride during her wedding day. Mehndi is also often applied during various festivals. If you are new to applying henna, in this oneHOWTO article, we explain how to apply mehndi for beginners.
You'll need:
- Mehndi (henna) cone
- Mehndi design
- Tissue paper
- Cotton pad
- Pencil & paper (to practise)
- Piece of glass (to practise)
Steps to follow:
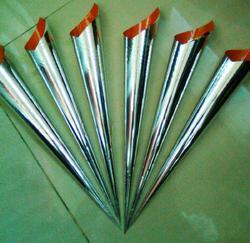
Mehndi designs are applied using cones. Mehndi cones can be bought from the nearest beauty store or can be made at home.
The readymade mehndi cones have some chemicals in them. If you want an a natural experience you can make mehndi cones and fill it with henna paste made at home. Advantages of homemade henna paste are that it gives better color and stays longer. Also, non pure henna can trigger dangerous allergic reactions.
If you are a beginner, we advise you to go for a commercial cone that will have an average opening so you can learn about applying pressures while drawing on the skin.

At the narrow end of the cone you can see a pin. Take out the pin and keep it in a safe place. You will need the pin again to put it back in the cone when the work is done.
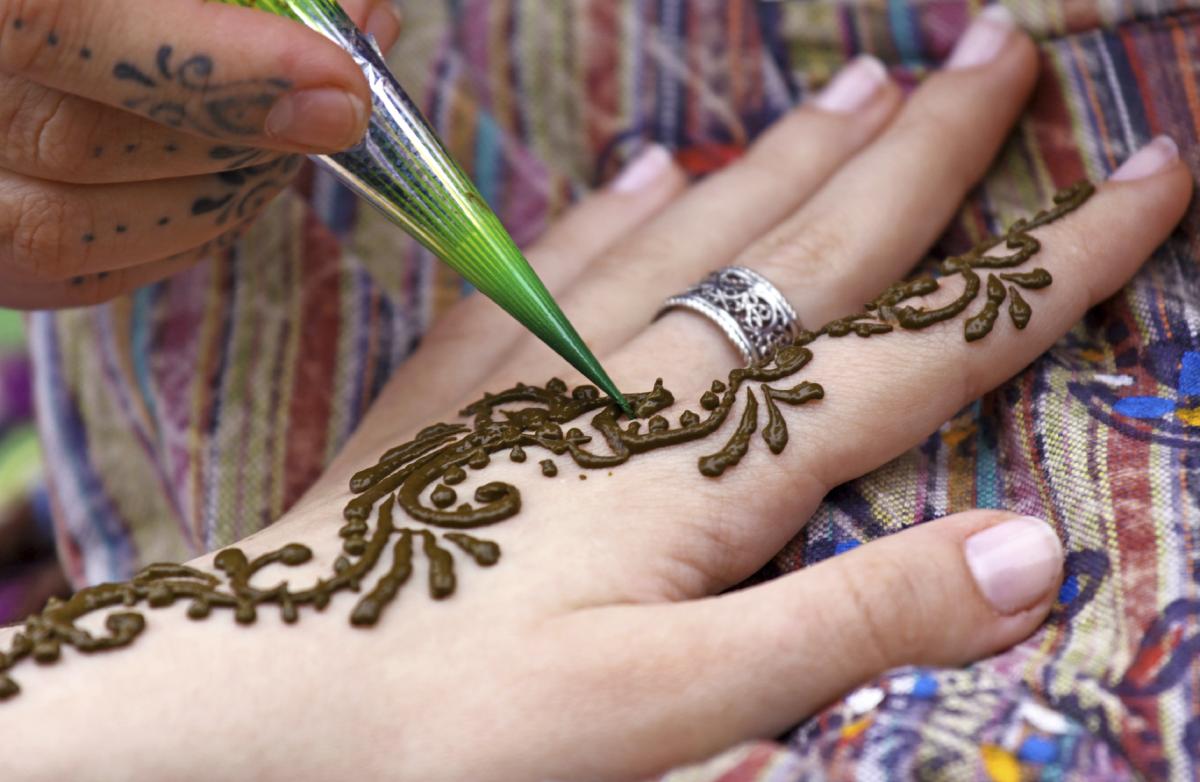
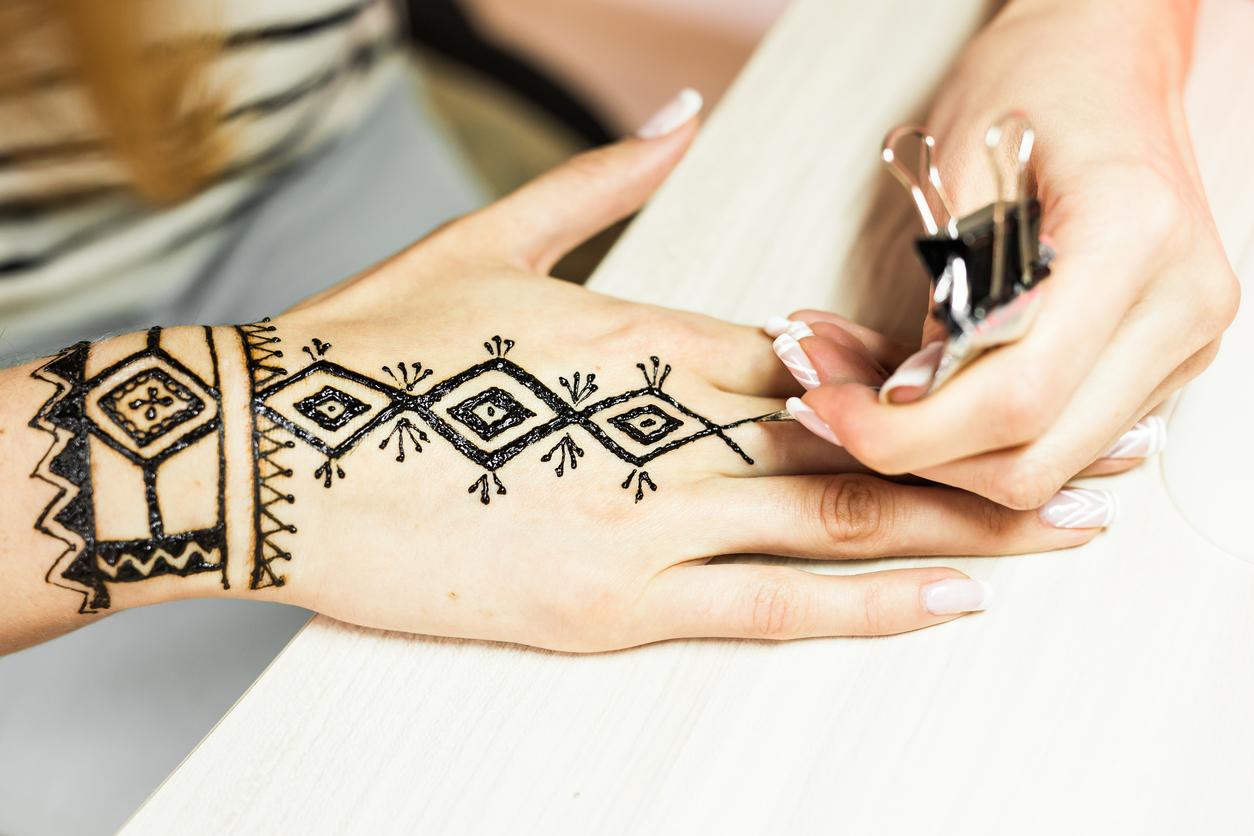
Hold the mehndi cone in the same way in which you hold a pen or pencil, see picture for a closer look at the the way you should hold the mehndi cone. Squeeze the cone a little bit until the paste starts to come out. Do not apply too much pressure at once otherwise a large amount of mehndi will come out at once. In the beginning, a black mixture will come out. Keep squeezing it lightly till the light color mixture comes out.

Clean the mehndi which had come out with a tissue paper. During application the tip will keep on getting messy. So, keep cleaning the tip with the tissue paper.
If you want to learn to apply mehndi for beginners, we advise you to do some practice on a sheet of white paper, so you know how much pressure you need to get the thickness of line you are looking for.
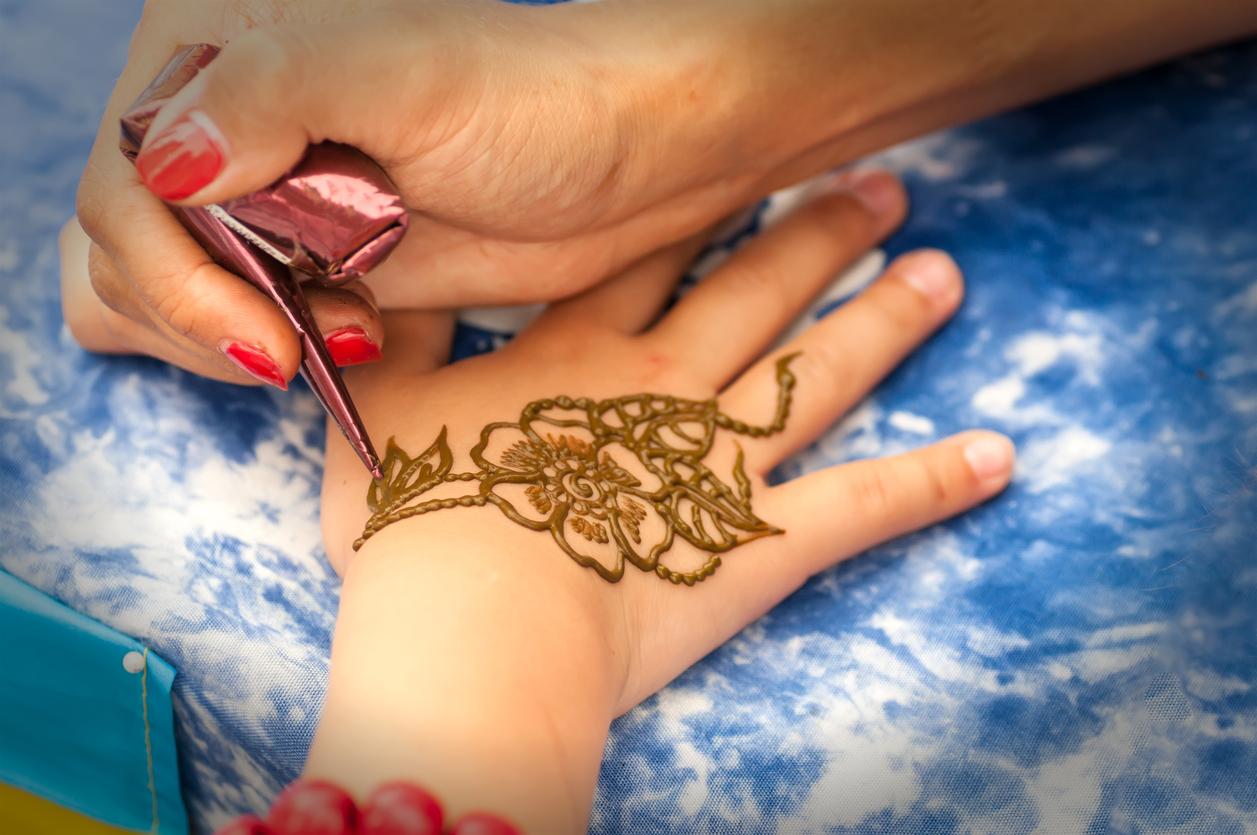
When you are applying mehndi on your own hand start from the farthest point which is the tip of your finger and keep on moving down. However, when you are applying mehndi on someone else's hands, you have to start from the farthest place, i.e. the palms of the hand and then keep moving towards the finger tips.
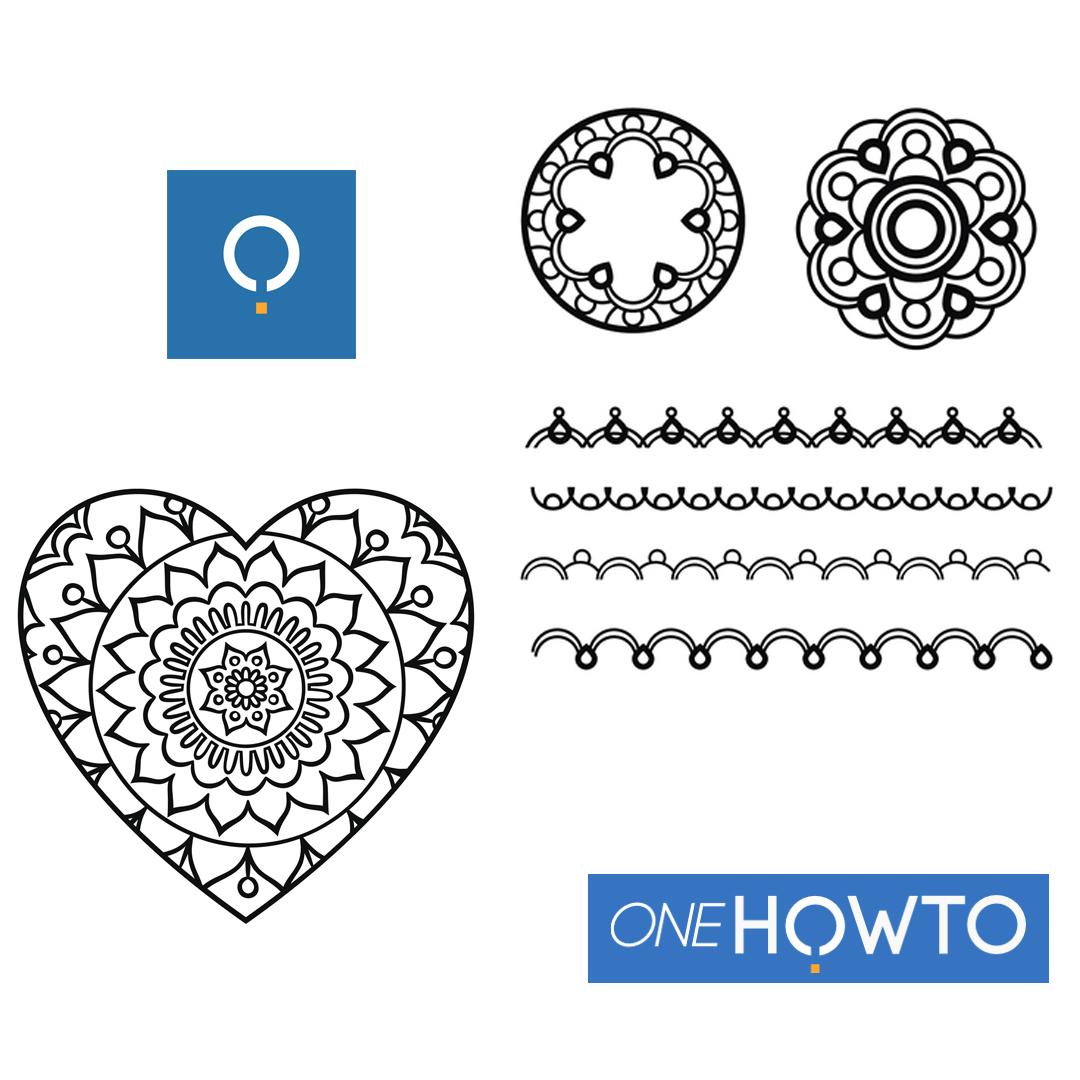
Regarding the designs we suggest for beginners, we advise you not to go for something too fancy with many different thicknesses and sizes. Go for a simple design that has mostly straight lines and, once you have the hang of this, move towards more curved designs. A simple mandala in the center of the hand is also a great way to begin your mehndi drawings. Take a look at the easiest templates you can use below.
This is why we suggest the following design that you can copy below. Trace it with a pen if needed if you are a mehndi beginner, so you just need to fill in the design.

Now hold the cone firmly and look at the design which you want to apply and lightly squeeze the cone till thin line of mehndi starts coming out and start applying on your hands.
Start with the lines and then fill in if you must.
For the mandalas, the first step is to draw each of the circles, from the biggest to the smallest to make sure you get the right size. Then, from the inside to the outside, start drawing the lines and dots you prefer, making sure you don't smudge the mehndi.
Keep moving upwards to the tips of your finger until you reach the top.

Once you have ended your mehndi design, leave them to dry. To make it dry faster, you can hold your hand near a heater although you should make sure it is not too close to your skin. There are also some great tips and tricks to make sure the mehndi is darker and lasts longer. You can follow these tricks to make mehndi last longer here.
Scrape the mehndi off once it's dry with lukewarm water and seal it with lemon sugar syrup with a cotton swab, dabbing gently so you don't ruin the pattern. Blow dry the syrup and you're done!
Oh! And if you're still not sure on how to apply mehndi, take a look at our tips below!
If you want to read similar articles to How to Apply Mehndi for Beginners, we recommend you visit our Beauty & Personal Care category.
Tips
- Learning how to apply the mehndi design takes time. So, it is best to at first try drawing it on a paper. Then you can practice by applying the mehndi using cones on any glass surface. As you keep on practicing your hands will get steadier and the designs will become neater.
- A readymade henna cone contains chemicals. So, always apply a little amount on your palm to check wether you are allergic to it or not. If it starts to itch or burns then stop using it. In such case you can use henna leaves and directly make into mehndi paste.
- Mehndi when applied on palms gives the darkest colour, sometimes even near to black. The colour becomes lighter when applied on the other side of hand and much more lighter on arm.
- Make a thick solution of lemon juice and sugar. When the mehndi design starts to dry, apply the solution on the design using a cotton pad. This will give your mehndi a dark colour.
- Let the mehndi dry for 6-8 hours to get the rich dark colour.
- When the mehndi dries out completely and starts chipping then do not wash the hands with soap or water. It may lead to discolouration. It is best to let it chip off naturally and avoid any contact with water for at least 12 hours.


