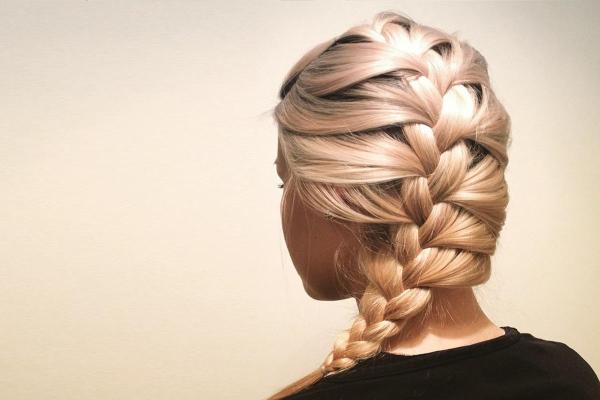
When it comes to classic hairstyles, braids are always on the top of the list. Not only does it help us keep our hair in place at all times, but there are also many variations to this braid. This allows us to customize it to our liking.
In this oneHOWTO article, we're going to show you how to do a french braid on yourself. We include videos and a simple step-by-step guide.
Have all the necessary utensils on hand
If you are wondering how to braid your hair easily, you should know that the first step will always be to have the necessary utensils on hand. This will allow you to focus on styling and not have to constantly search for combs and bands. You will need to have:
- A hair brush
- A fine comb
- Small hair bands (if possible, plastic ones)
- Large clips to separate hair
- Gel or hairspray
- Clips (optional)
- Hair straightener (optional)

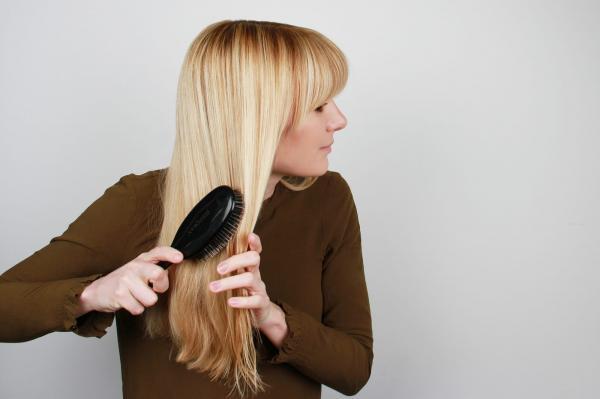
Comb and straighten your hair
Tangled hair can complicate the weave or result in a very messy braid. Therefore, untangling your hair will be essential when starting to make French braids, African braids, boxer braids, etc. You can add a little gel or fixer to your hair to stay in a certain position. If you're having trouble untangling your hair, check out our article with home remedies to untangle hair.
If you have a hair straightener at home, straightening your hair can be helpful. However, a French hair with curly hair will also look nice.

Separate the first line of hair
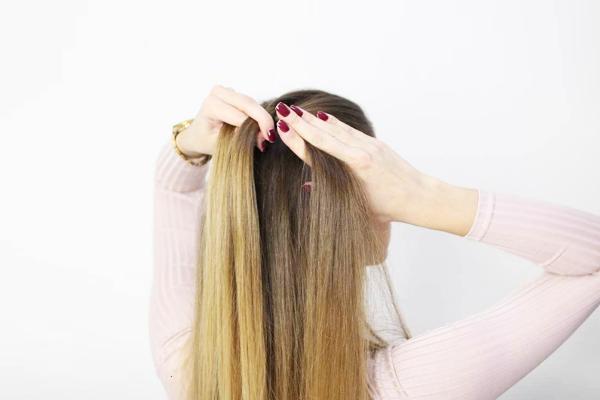
With the help of the fine comb, take the first line of hair from the forehead. Be very careful when separating your hair. Be cautious of both the one you will reserve for later and the one you will be weaving, since you could easily tangle it.
Separate this first line into 3 strands to make your 3 strand french braid. Its thickness will depend on the style you are looking for, but keep in mind that the thinner the locks, the more closed the segments of your braid will be and the longer the weaving time will be.

Start weaving your braid the traditional way
To learn how to make a french braid the basic thing is to know how to make a traditional braid. If you master the common braid, the french braid will be quite easy to do. You know how it works: the left lock goes over the middle one, becoming the middle one, then the right lock above it, and so on.
It is important that you do not miss a beat to avoid mistakes and that you keep the braid tight at all times.

Incorporates tufts from the sides
Once you have made a traditional weave, it's time to incorporate strands from the sides to your braid. To do it easily, stop when you are going to pass the right strand over the one in the middle and add a little hair to that strand. It is as simple as adding more hair to that end and making it thicker before passing it to the center.
When you go to pass the left lock to the center, do the same: add a little more hair to that end and then move it to the middle. And so on. As you do this, keep the following points in mind:
- The thickness of the locks: we recommend that the locks that you are attaching to the braid are the same thickness between them, because otherwise it would be unbalanced.
- The tension of the braid: as you knit, tighten the strands so that the braid is well attached to your head.
- Critical points: take into account the critical points where the braid is most often undone. These are the crown, the nape of the neck and the end, so pay special attention to those areas.

Finish with a simple braid
When you have reached the nape of the neck, only the final braid will remain. If you have a very long mane, you can bring that part of the hair forward and braid it to the height of your shoulder, because this way you can rest your arms a little and it will be easier to do.
To make sure the braid does not fall apart, you must tie it with a good rubber band or hair tie. If you have loose hair, you can add some bobby pins to fix them. To make sure it stays the way it is you can add some gel in certain areas or use hairspray, this way the hairstyle will look fresh all day.

Other variations of the root braid
The best thing about braids is their versatility. So, here are some small changes to achieve a more original or elegant style from the classic french braid that we have shown you.
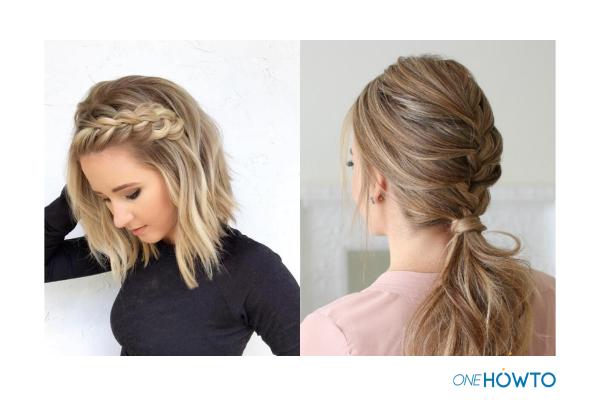
How to make side French braids
The weaving process for combing side root braids is the same as before, only instead of taking the first strands in front, we will take them from the side we want. Divide a large strand into three ends and start weaving them as you would a traditional braid. After the first round, start adding strands from above or below, depending on the line you are going to pass to the center.
When you get to the nape of the neck, tie the braid with a small plastic rubber band and hide it with bobby pins.
How to make a pigtail root braid
Another variant you can try is the pigtail root braid. This option is as easy as weaving the braid as we have taught you before but this time tightening the locks on the top of your head much more (these should be smaller than those of a normal root braid).
When the top of your head is tight, you just have to tie the braid and give it the design you prefer (you can add bobby pins, use a lock of your ponytail to wrap the rubber to cover it, add an original ponytail to your braid, etc.)
You may also like to try the elegant bohemian braid.

If you want to read similar articles to How to Do a French Braid on Yourself, we recommend you visit our Beauty & Personal Care category.